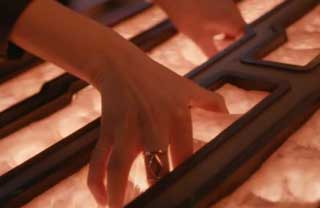
The Empathic Circuits We first were introduced to the "Telepathic Circuits" when the Doctor arranged for his companion to fly the TARDIS using her memories (at right). Our TARDIS has less console space available, but I figured that it could use something similar, as part of the gameplay and to reveal clues in an unusual and fun, if slightly 'ooky', way. Our Empathic Circuits are squishy, glowing orbs that young Empaths can thrust their hands into and feel Morse code vibes. |
 |
Below is a step-by-step description of making our Empathic Circuits — maybe 40-50 hours work after much internet-learning about casting methods. A few of the more obvious steps are omitted to avoid boring reading… Designing the Orb-Cases… |
|
 |
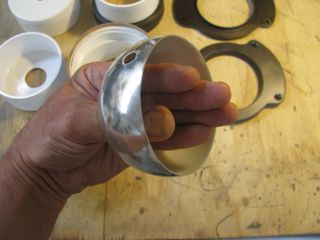 |
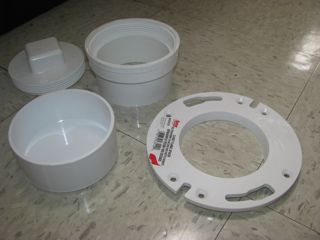
| I searched for vessels of about the right depth that could 1) withstand some pressure, and 2) be accurate and adjustable enough to machine and fit into the console space avaialble. PVC toilet drain fittings filled the bill. | The choice of vessel determined, I then needed spheres of precise diameter to mold the orbs. Sister Jude found just the thing: plastic Christmas ornaments, smooth inside with the right thickness. |
Making the Molds… |
|
 |
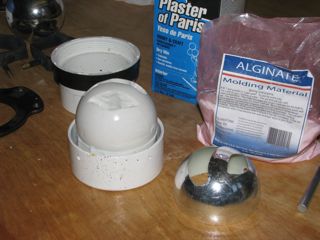 |
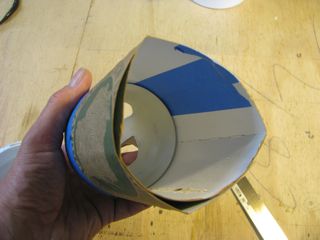
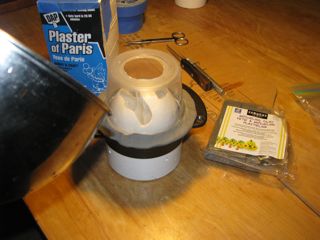
| I cut the finger holes, and then fashioned cardboard cylinders, to fill with… | quick-setting alginate molding material, to make impressions of my own fingers and thumbs. |
 |
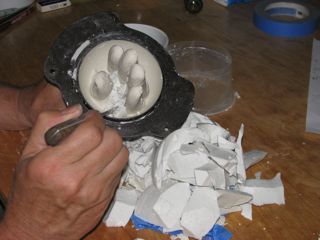 |
| After a bit of trimming, pouring in plaster of Paris … | and then removing the soft alginate. |
 |
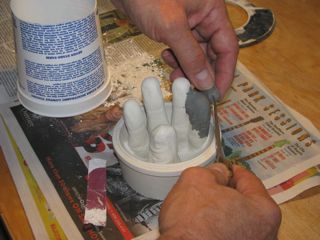 |
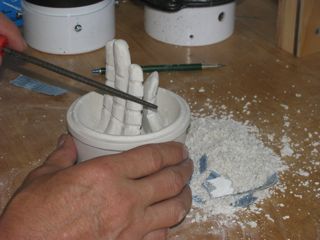
| Here I'm cleaning up the plaster 'negative' mold and filing grooves into the sides of the fingers. These will create thin ridges to grip the Empath's hand. | I actually needed 4 tries to get the finger shapes correctly sized and shaped. Here I add clay to the pinky, to create a bit more space in the final cast. |
 |
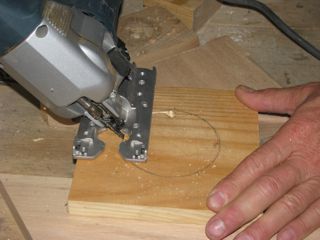 |
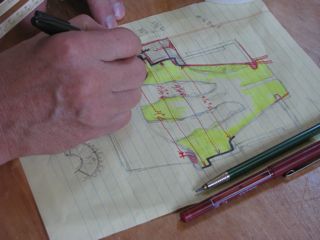
| I'd never made a real casting mold before, of a complex shape, so I resorted to a good deal of head-scratching and drawing to figure out the intricacies and to anticipate difficulties. | The main body of the mold is made from scraps of wood, glued together to make a hollow of the correct shape & size — then cut apart to allow easy de-molding. |
 |
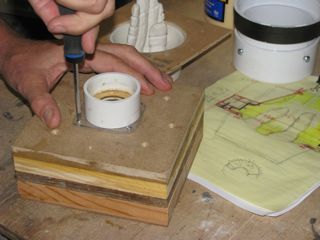 |
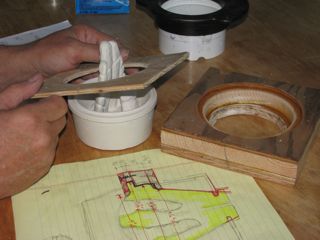
| The hand-orb 'negative' is glued to a wooden plate. | Here I'm test-fitting the fill-opening. |
The Electrics and Casting… |
|
 |
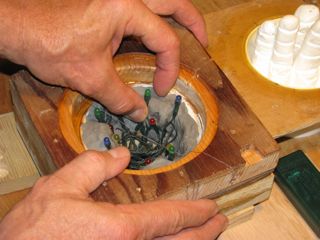 |
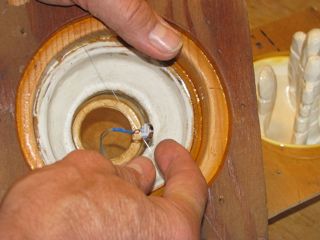
| Here I'm installing a tiny haptic motor, suspended by a thin length of monofilament nylon line. After the silicone is cured, the nylon is slick enough to pull free, leaving the motor correctly positioned. An Arduino micro-controller will feed Morse pulses to the vibrating motor on cue. | I wanted the Circuits to glow, hence the choice of translucent silicone. Here I'm positioning a string of battery-operated LED holiday lights in the mold using clay. Unwilling to do another (expensive) test casting, I crossed my fingers on the lighting effect. |
 |
|
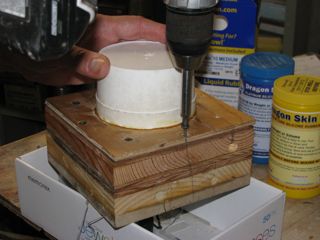
| The sealed and prepared mold is finally ready to assemble, turn upside down and … | pour full with silicone - Dragon Skin Medium 10 from Smooth-On, unpigmented. |
The Charging System… |
|
 |
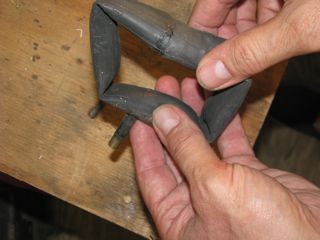 |
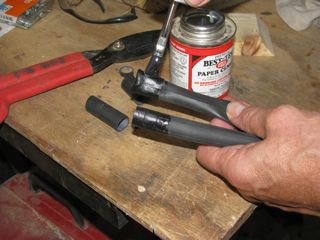
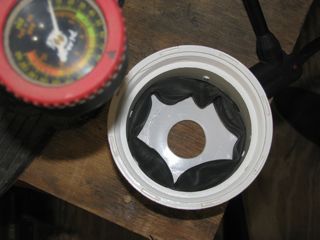
| I wanted to find a use for an antique brass plunger-pump that I'd found years before in our dad's garage because on TV one of the TARDISes features a hand pump. So I decided to use it to "charge the Empathic Circuits" i.e., squeeze the Empath's fingers a little. I cut down & re-assembled two old bicycle inner tubes — thanks to Revolution Cycles, Madison's best bike shop! | |
 |
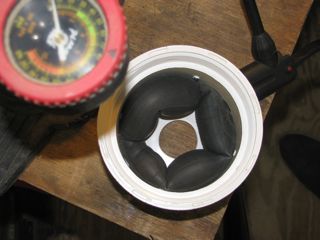 |
| Testing the fit of the little inner tubes gave me … | a sense of the amount of inner volume change. |
Demolding the Silicone… |
|
 |
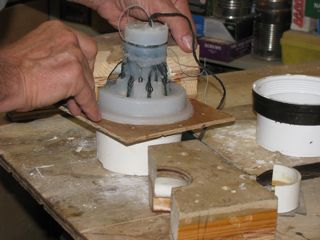 |
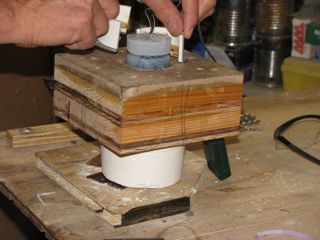
| De-molding after the silicone has cured. Fortunately I made a test mold and learned the hard way that this was in fact a challenging object to cast. | This photo shows the gap between the mold body and the final cast that was filled by the clay. Removing the clay created the void for the Kinetic Sand to fill. |
 |
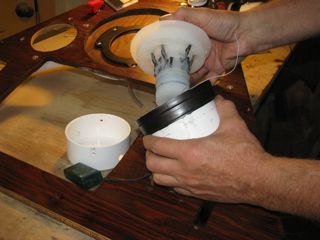 |
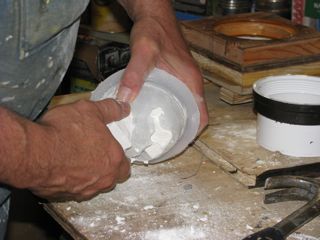
| De-molding the fingers. The 'negative' (finger) shapes were so "undercut" (molding lingo) that it turned out easiest to use a disposable plaster negative and simply break it up into small chunks to remove it. | The silicone cast after full de-molding, showing the positioning of the lights. The flange of silicone around the perimeter is fastened down via a PVC ring bolted into the panel. |
The Final Assembly… |
|
 |
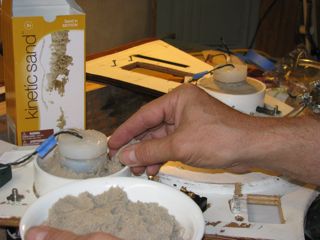 |
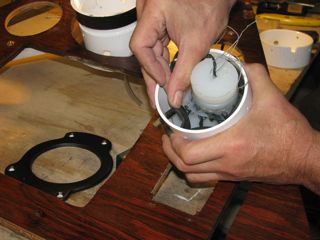
| Note the wires emerging for the haptic motor & lights. Here I'm placing the inner-tube inside and… | filling with Kinetic Sand, a children's play-product that is both moldable and cohesive. |
 |
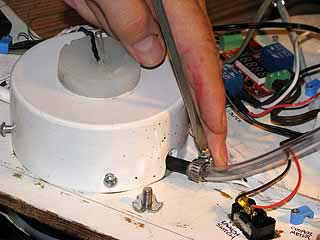 |
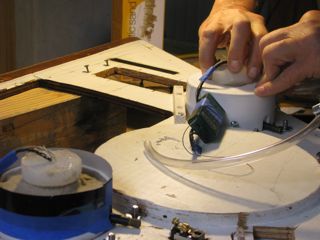
| The circular groove cast into the fill-opening secures the stretchy silicone through the bottom cup opening. | Attaching the fill-tube to the valve stem with a hose clamp, after removing the spring check-valve. |
 |
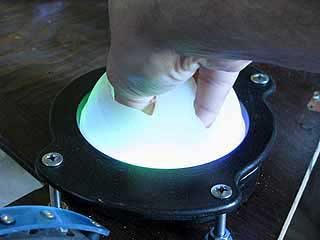 |
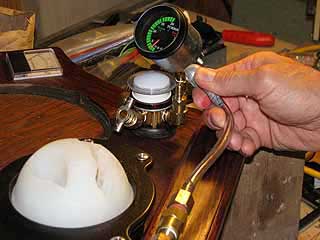
| The charging system atop the panel: pump, nozzle, pressure gauge, with check & release valves — all conventional fittings assembled in a non-conventional way. The neon nightlight glows when you pump air. | A hand inside the Empathic Circuit with light glowing from inside. My lighting intuition paid off this time; the result is a squishy orb with a satisfying, multi-colored pulsing glow. |
The Empathics Panel
|
|
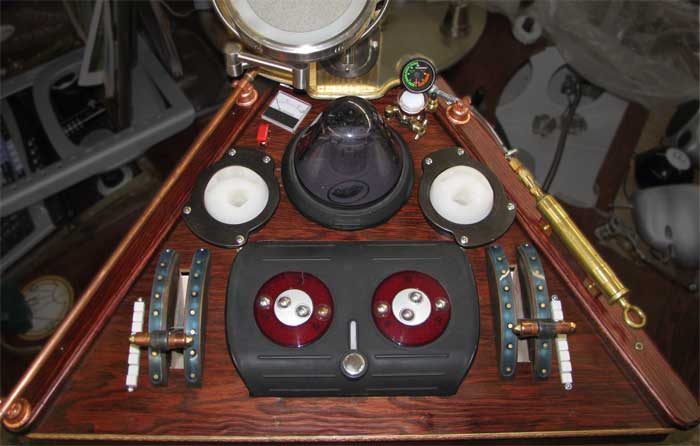
| Top view of the Empathics panel at about 90% complete, showing the Empathic Circuits, the Light Cone, the Luminous Massager, and lighted, programmable levers and buttons. | |
 Comments? lou@designcoalition.org